

What is PNF "sandwiching?"
Introduction
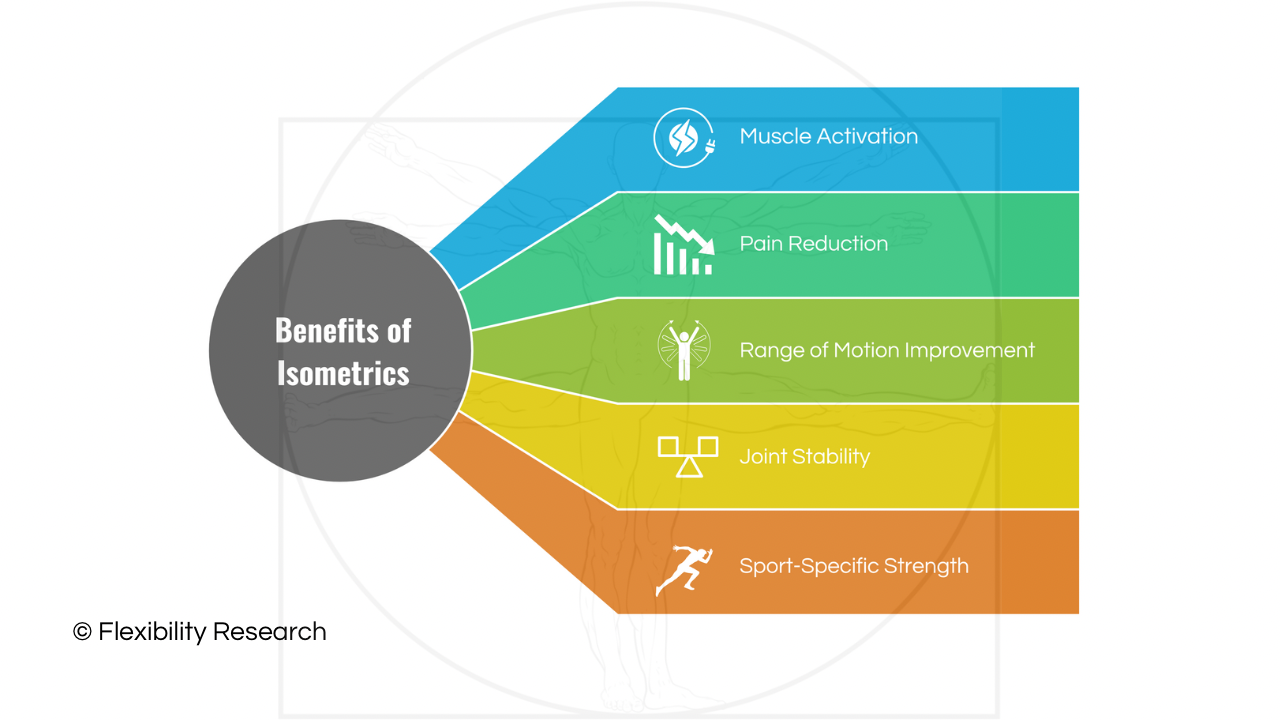
Stretching is often thought of as just a tag-on at the end of a workout. But it’s a crucial piece of the puzzle if you want to perform better, recover quicker, and keep your body feeling good. One technique I’ve really fallen in love with over the years is isometric stretching. Also known as proprioceptive neuromuscular facilitation (PNF), it got started back in the 1940s and 1950s by physiotherapists who worked with folks dealing with neuromuscular conditions. Over time, people in fitness and athletics noticed how well it boosted flexibility, so it spread far beyond therapy clinics.
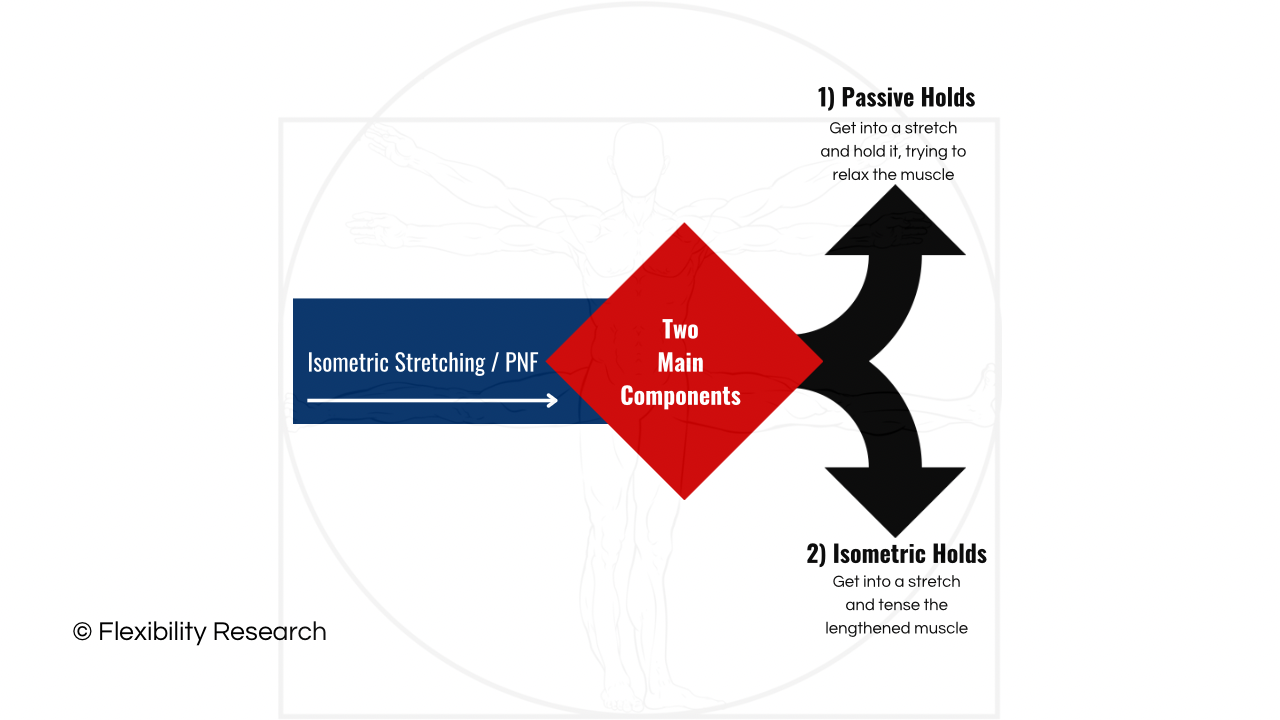
What makes PNF so interesting is the way it combines two elements: passive holds, where you let a muscle stretch with outside help (like a strap, a partner, or even gravity), and isometric contractions, where you tense up the muscle but don’t change its length. In many cases, a standard PNF approach goes something like this: you ease into a passive stretch, then add an isometric contraction against resistance, and finally relax to move deeper. But there’s more than one way to arrange these steps. Sometimes you can layer the passive and isometric holds in different sequences to see if your flexibility gains improve. I call this process "sandwiching."
In this article, I’m going to explain how to layer passive and isometric holds to create your own "PNF sandwich” routines. We’ll walk through three main approaches, show you more variations if you’re feeling adventurous, and highlight some important safety notes to keep in mind.
Key components of PNF stretching
Before exploring different sandwich combos, let’s look at the two pillars of PNF: the passive hold and the isometric hold. When I talk about a passive hold, I mean you’re letting an external force (maybe a partner, a strap, or just good old gravity) pull your muscle into a stretch. You aren’t using your own muscle power to get deeper; you’re relying on something else to place you where you need to be. Its purpose is to gibe your muscles a gentle (ish) stretch and prepare them up for what’s next. It also heightens your sense of where your joints and limbs are positioned, and helps reduce tension so you’re primed to go further. The key is to relax as much as you can in that position. Focus on calm, steady breathing, and imagine lengthening your muscle. It should be uncomfortable, but if something hurts a lot, don't grit your teeth. Ease off.
An isometric hold is all about voluntarily contracting the muscle but without moving the joint. Think about lying on your back and stretching your hamstrings: you push your leg against a partner’s hands (or strap), but the leg doesn’t budge because of the resistance. There's no visible movement, just tension. isometric holds crank up muscle activation in your nervous system. Once you stop contracting, the muscle often relaxes more deeply. This makes it easier to reach a bigger range of motion after the hold. Most people will do fine contracting at about half to maybe 80% of your max effort; you don’t have to go all-out. Hold tension for 5–10 seconds, breathing normally (don’t suck in all your air and hold it in). Traditionally, PNF stretching has you move from a passive stretch to an isometric hold, then back to a deeper passive stretch. Now let’s see how “sandwiching” these steps might make it more effective.
Option 1: Passive Hold → Isometric Hold
Begin in a mild passive stretch, so your body gets used to that position. Shift into the isometric hold by pushing or pulling against something that keeps your muscle from moving. Hold that contraction for about 5–10 seconds, at 50–80% effort. Relax and either sink back into the passive stretch (without increasing ROM) or come out of it completely. Starting with passive stretching increases elasticity and tells your body this position isn’t dangerous. The isometric hold then “locks in” that engagement. It’s a quick, neat sequence if you’re on a tight schedule and don’t want multiple layers. It's also really simple to learn, so it’s great for beginners, and it cuts down the risk of jumping into a too-deep stretch right away. However, you might miss that extra end-range benefit you get from sandwiching passive holds before and after the isometric. Doing a long passive hold immediately before an isometric contraction may also inhibit your ability to contract the muscle as effectively compared to option 2 (see below) due to stretch-induced force loss.
Option 2: Isometric Hold → Passive Hold
Start in some mild to moderate stretch position (not too deep). Contract isometrically, pressing or pulling for around 5–10 seconds. Once you quit contracting, immediately slide deeper into a passive stretch. By contracting first, you convince the muscles to switch gears. Once you relax, your system often “lets go,” allowing for a bigger stretch. It's great for folks who already know their way around PNF and you can often gain range of motion fast if everything is timed well. One negative aspect of this approach is that if you start your isometric hold in a position that’s uncomfortable, you risk cramping or feeling too much tension before you even stretch.
Option 3: Passive Hold → Isometric Hold → Passive Hold
Start with a light passive stretch for, say, 15–30 seconds. Go into your isometric hold for 5–10 seconds. Relax again into a passive stretch. This time, you might get a bit more depth. Hold that final stretch for another 15–30 seconds. This is considered the “classic” PNF approach: it preps you with an initial stretch, then the isometric, and finally a deeper passive stretch. If you have the time, it’s thorough and can really help boost range of motion. It covers all the bases, from warm-up to deep hold. After that isometric, you’ll often find a deeper final stretch is doable. The downside is that it's a bit more time-consuming. It can be quite intense (folks new to this method almost always suffer from DOMS in the days afterward), so you have to know your own limits.
If you’re feeling adventurous and want to expand beyond the three basic templates, here are a few variations that might come in handy.
Option 4: Isometric Hold → Passive Hold → Isometric Hold
You do a short isometric first, then slide into a passive hold, then finish with another, longer isometric hold. Multiple contractions usually help you tap into different muscle fibres across your range of motion. It's good for people like dancers or martial artists who need to control extreme flexibility. An example for the back of your leg is to lie on your back with a strap around your foot. Contract your hamstrings by pushing your foot into the strap, resisting by pulling on the strap against your foot with your hands, and hold for 5 seconds. Relax and hold the same range or move into **slightly** deeper stretch for 10-15 seconds. Contract again for 5 seconds, this time maybe altering the angle of your foot slightly by turning in or out at the hip (it's good way to target specific tight spots in your hamstrings).
Option 5: Partial Passive Hold → Isometric Hold → Deeper Passive Hold
You ease into a lighter initial stretch, contract, then move into a deeper stretch once you relax. A slow ramp-up means less chance of going too far too soon. This is a great option for folks coming back from injuries or with super-tight muscles. For instance, if you’re stretching your calf against a wall, start with a conservative angle (don’t force anything). Contract by pushing your toes into the wall or floor for 5–8 seconds. Then move your foot closer and deepen the stretch, holding 15–30 seconds.
Option 6: Passive Hold → Dynamic Movement → Isometric Hold
Start with a passive hold, sprinkle in some controlled dynamic motions, then finish with an isometric. The dynamic movements loosen things up by increasing blood flow and joint comfort, giving you a chance to explore that range before you “lock in” an isometric. Let's say you’re in a hip flexor stretch (kneeling lunge), beginning with a passive hold for 15 seconds. Do 5–10 gentle pulses forward and back. Then, hold an isometric by pushing your knee into the ground or pressing your foot into the floor.
Option 7: Multiple Sandwich Cycles
Instead of just one sequence (like passive → isometric → passive), you might do two or more sets in a row. Each cycle might allow for an even deeper range, which can really help with stubborn muscle groups. Example: take Option 3 (passive → isometric → passive), do it once, pause, then do it again; maybe you’ll get a bit further each time without forcing it. Many research papers and textbooks recommend doing 3-5 sets of 3-5 stretch-contract-stretch cycles. I even recommended this as the "Goldilocks zone" of isometric stretching for years myself. However, the majority of people will do well with 2-3 sets of 2-3 cycles.
Practical considerations and best practices
No matter how fancy you get with passive and isometric holds, there are some fundamentals to remember. First, warm-up properly. I always say the goal of every flexibility trainee is to develop range of motion until it's readily accessible at any time, without warming up (we call that "cold flexibility." However, even when you have this ability (like dropping into the splits in the blink of an eye, as soon as you wake up), you shouldn't abuse it. Debates about the injury prevention benefits of warming up aside, getting your muscles and joints nice and toasty just makes stretching easier.
Second, learn breathing techniques. I can't stress enough how important it is to keep your breathing steady. If you start holding your breath, you'll tense up (making stretching even harder and, potentially, making yourself pass out. Try exhaling slowly as you contract, which helps keep you relaxed.
Third, follow sensible guidelines for intensity and duration. For passive holds, 15-30 seconds is usually enough, but be guided by your body's response to the stretch. For isometric holds, 5-10 second contractions at 50-80% of the maximum effort you can tense your muscles will take you all the way to the splits if you practice for long enough. You can tense harder, and I've even recommended that in the past (my Isometric Split Progression program is legendary for its intensity and ability to get people into the splits in 3-6 months). But if you don't have a coach, you risk overdoing it and sabotaging your progress.
Fourth, please don't be stupid and do isometric stretching every day. You wouldn't (or shouldn't) lift heavy weights for the same muscle groups without at least a couple of days rest between workouts. And, in some ways, isometric stretching is much more intense than heavy lifting. I'd start with 2-3 times a week for any one muscle group. More can lead to overstretching and minor tears, and trust me, you don't want that. Listen to your body. PNF can be very intense, even when you intend to do only light or moderate intensity contractions. Dial it back if something's off or you feel sharp pain. Everybody's different and you'll know your body's signals best.
Example sequences for different muscle groups
To bring these ideas to life, here are some specific ways to apply these sandwich concepts. Feel free to tweak them as needed.
For your hip flexors, warm-up by doing a few sets of lunges or hip circles. Next, take up a kneeling lunge position with one knee on the ground. For the passive phase, lean forward and feel a stretch in your trailing hip. Hold for 15 seconds. Then do 10-15 small pulses forward and back (dynamic phase). Finally, drive your knee into the floor and hold an isometric contraction for 5-8 seconds. Switch sides and repeat, alternating sides between sets.
To improve shoulder internal rotation, do some arm circles or simple shoulder rolls. Take a towel and place it behind your back, top arm over the shoulder, bottom arm reaching up from the waist. Passively pull the towel upward to gently stretch the bottom shoulder. With the bottom hand, pull down for 5-10 seconds. Return to the passive stretch or exit the move if you're done. Switch arms and repeat the sequence.
Targeting the back and spinal erectors can consist of a few cat-camels or torso twists to warm-up. Assume child's pose from yoga (knees on the floor, hips back, arms forward). Do a partial passive hold by sitting back just enough to feel a mild stretch in your lower back for 15-30 seconds. To do the isometric, push your palms gently into the ground for 5-8 seconds. Get into a deeper passive stretch by relaxing and sinking further into child's pose, holding for 30 seconds. Come out of the pose slowly when you're finished.
Troubleshooting
Even a well-planned method like PNF can go sideways if you’re not careful. Watch out for overstretching or forcing range. Stay in the zone of “productive discomfort” without crossing into real pain. Slow and steady is the name of the game. I've already said this but it bears repeating: don't hold your breath. It's a quick way to cause a spike in tension and risk more cardiovascular strain. So, keep the air flowing. Don't make mistake of ignoring pain signals. There’s a difference between a dull stretch and something sharp or burning. Respect your body’s warnings.
Mixing passive holds and isometric contractions can do wonders for your flexibility, especially if you get creative with sandwiching. You can start or end with the passive hold, or you can slot in a couple of isometrics. You could even alternate muscle groups in your passive and isometric "layers". See which combination feels the best for your body. This layered approach to PNF stretching can make a real difference in your flexibility if you do it right. By mixing passive and isometric holds in a way that fits your style, you might surprise yourself with how much you can progress. Just take it one step at a time because there's no sense in rushing. Keep at it regularly, adapt as you go, and you’ll likely move with more ease in your day-to-day or competitive activities.